Mounting EFS on AWS instance using Terraform

Do you want to make a block centralized persistent storage for your application but had trouble doing it? EBS fails to serve your purpose due to its region limitation and can’t make the NFS file system on your own?
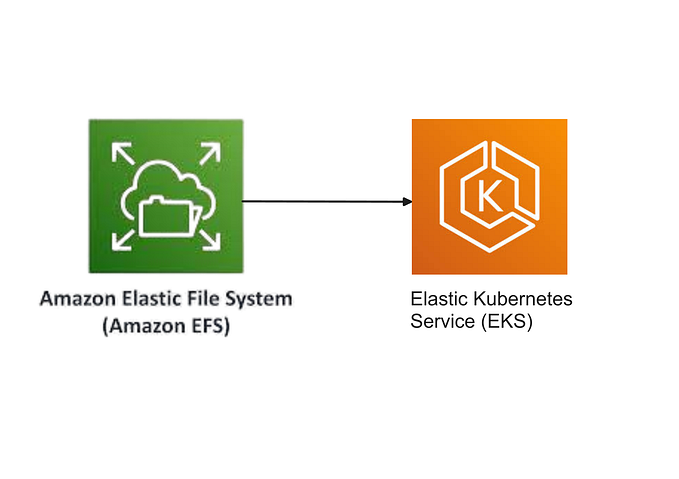
Well EFS is the solution to all these problems. Amazon Elastic File System (Amazon EFS) provides a simple, scalable, fully managed elastic NFS file system for use with AWS Cloud services and on-premises resources. It is built to scale on demand to petabytes without disrupting applications, growing and shrinking automatically as you add and remove files, eliminating the need to provision and manage capacity to accommodate growth.
Now before moving further, I hope you have the following requirements:
Requirements:
- AWS CLI software configured with a profile.
- Knowledge of AWS Cloud Computing and Terraform.
- Terraform setup
- You can get my code from here
Now in this blog, I will be performing the below tasks:
1. Create Security group which allow port 80 (HTTP), 22(SSH), 2049 (EFS) and egress rule to all traffic and a key.
2. Launch EC2 instance.
3. In this Ec2 instance use the provided key and security group which we have created in step 1.
4. Launch one Volume using the EFS service and attach it to your VPC, then mount that volume into /var/www/html
5. Developer has uploaded the code into the GitHub repo also the repo has some images.
6. Copy the GitHub repo code into /var/www/html
7. Create an S3 bucket, and copy/deploy the images from the GitHub repo into the s3 bucket and change the permission to public readable.
8 Create a Cloudfront using s3 bucket(which contains images) and use the Cloudfront URL to update in code in /var/www/html
So steps are:
Step 1: Configure your profile with the below cmd
aws configure
Step 2: Create a file with extension .tf and open it in any code editor or notepad and do the following steps.
- The below code is for setting up a provider with AWS in terraform
# AWS Provider # This is for your profile. Enter your AWS profile nameprovider "aws" {
region = "ap-south-1"
profile = "apeksh"
}
- Below code generate key and make key pair and also save the key in your local system
# Generate new private keyresource "tls_private_key" "my_key" {
algorithm = "RSA"
}# Generate a key-pair with above keyresource "aws_key_pair" "deployer" {
key_name   = "efs-key"
public_key = tls_private_key.my_key.public_key_openssh
}# Saving Key Pair for ssh login for Client if neededresource "null_resource" "save_key_pair"  {
provisioner "local-exec" {
command = "echo  ${tls_private_key.my_key.private_key_pem} > mykey.pem"
}
}
- The below code is for getting default VPC and Creating Security group which allows the port 80 (HTTP), 22(SSH), 2049 (EFS), and egress rule to all traffic.
# Deafult VPCresource "aws_default_vpc" "default" {
tags = {
Name = "Default VPC"
  }
}# Creating a new security group for EC2 instance with ssh and http and EFS inbound rulesresource "aws_security_group" "ec2_security_group" {
name        = "ec2_security_group"
description = "Allow SSH and HTTP"
vpc_id      = aws_default_vpc.default.idingress {
description = "SSH from VPC"
from_port   = 22
to_port     = 22
protocol    = "tcp"
cidr_blocks = ["0.0.0.0/0"]
  }ingress {
description = "EFS mount target"
from_port   = 2049
to_port     = 2049
protocol    = "tcp"
cidr_blocks = ["0.0.0.0/0"]
  }ingress {
description = "HTTP from VPC"
from_port   = 80
to_port     = 80
protocol    = "tcp"
cidr_blocks = ["0.0.0.0/0"]
  }egress {
from_port   = 0
to_port     = 0
protocol    = "-1"
cidr_blocks = ["0.0.0.0/0"]
  }
}
- The below code is for creating an EC2 instance in AWS with Amazon AMI and it uses the provided key and security group which we have created in the earlier step and it also creates a text file with Public IP in your local system which can be used later.
# EC2 instanceresource "aws_instance" "web" {
ami           = "ami-00b494a3f139ba61f"
instance_type = "t2.micro"
key_name = aws_key_pair.deployer.key_name
security_groups = [aws_security_group.ec2_security_group.name]tags = {
Name = "WEB"
 }provisioner "local-exec" {
command = "echo ${aws_instance.web.public_ip} > publicIP.txt"
  }
}
Now the most important part comes. Creating EFS file system then creating mount target and mount point.
Note: Provide proper subnet id and DNS name for mounting. Here i have mounted /var/www/html folder.
# Creating EFS file system
resource "aws_efs_file_system" "efs" {
creation_token = "my-efs"
tags = {
Name = "MyProduct"
  }
}# Creating Mount target of EFSresource "aws_efs_mount_target" "mount" {
file_system_id = aws_efs_file_system.efs.id
subnet_id      = aws_instance.web.subnet_id
security_groups = [aws_security_group.ec2_security_group.id]
}# Creating Mount Point for EFSresource "null_resource" "configure_nfs" {
depends_on = [aws_efs_mount_target.mount]
connection {
type     = "ssh"
user     = "ec2-user"
private_key = tls_private_key.my_key.private_key_pem
host     = aws_instance.web.public_ip
 }
Below code is for executing shell commands in our instance and installing our necessary packages and then mounting them to our folder
provisioner "remote-exec" {
inline = [
"sudo yum install httpd php git -y -q ",
"sudo systemctl start httpd",
"sudo systemctl enable httpd",
"sudo yum install nfs-utils -y -q ", # Amazon ami has pre installed nfs utils# Mounting Efs
"sudo mount -t nfs -o nfsvers=4.1,rsize=1048576,wsize=1048576,hard,timeo=600,retrans=2,noresvport ${aws_efs_file_system.efs.dns_name}:/  /var/www/html",# Making Mount Permanent
"echo ${aws_efs_file_system.efs.dns_name}:/ /var/www/html nfs4 defaults,_netdev 0 0  | sudo cat >> /etc/fstab " ,"sudo chmod go+rw /var/www/html","sudo git clone https://github.com/Apeksh742/EC2_instance_with_terraform.git /var/www/html",  ]
 }
}
Now all the part is same as I have done in earlier blog AWS instance with terraform except creating EBS volume for backup.
Here I will be uploading some screenshots for creating an S3 bucket, Cloudfront Distribution, etc … or you can always get my code from Github.
- This is for creating an S3 bucket, Origin Access Identity, and adding a bucket policy for access to Cloudfront

- This is for storing objects in the S3 bucket created earlier

- Creating Cloudfront Distribution


Now the final piece of code will give you Cloudfront URL in a text file which you can use in your application.
# Retrieve CloudFront Domainresource "null_resource" "CloudFront_Domain" {
depends_on = [aws_cloudfront_distribution.s3_distribution]provisioner "local-exec" {command = "echo ${aws_cloudfront_distribution.s3_distribution.domain_name} > CloudFrontURL.txt"
   }
}
Step 2: Go inside the directory where your terraform files are present and run
terraform initIt will install all the necessary plugins

Step 3: Now run
terraform apply --auto-approve
It will take some time to complete and then after it will do all the thing for you. You can verify from your AWS console also.


Step 3: After complete setup you can get Cloudfront URL from CloudFrontURL.txt and use it anywhere you want.

Now result in you can see. You can get the Public URL from the publicIP.txt file generated.

Step 4: For removing all your setup use the command:
terraform destroythen it will prompt to say yes, enter yes to delete your whole setup in one go.

You can always use Jenkins for Continuos Integration / Development for this project.
If you want to learn how then please refer to my earlier blog.


